3D Printer Calibration: Fix the First Layer Before Everything Else
Calibrate a 3D printer in a useful order: clean bed, Z-offset, temperature, flow, then dimensions. A basic digital caliper makes the last step easier.
By Harper Lin
3Dprintpicks is reader-supported. As an Amazon Associate we earn from qualifying purchases. Learn more.
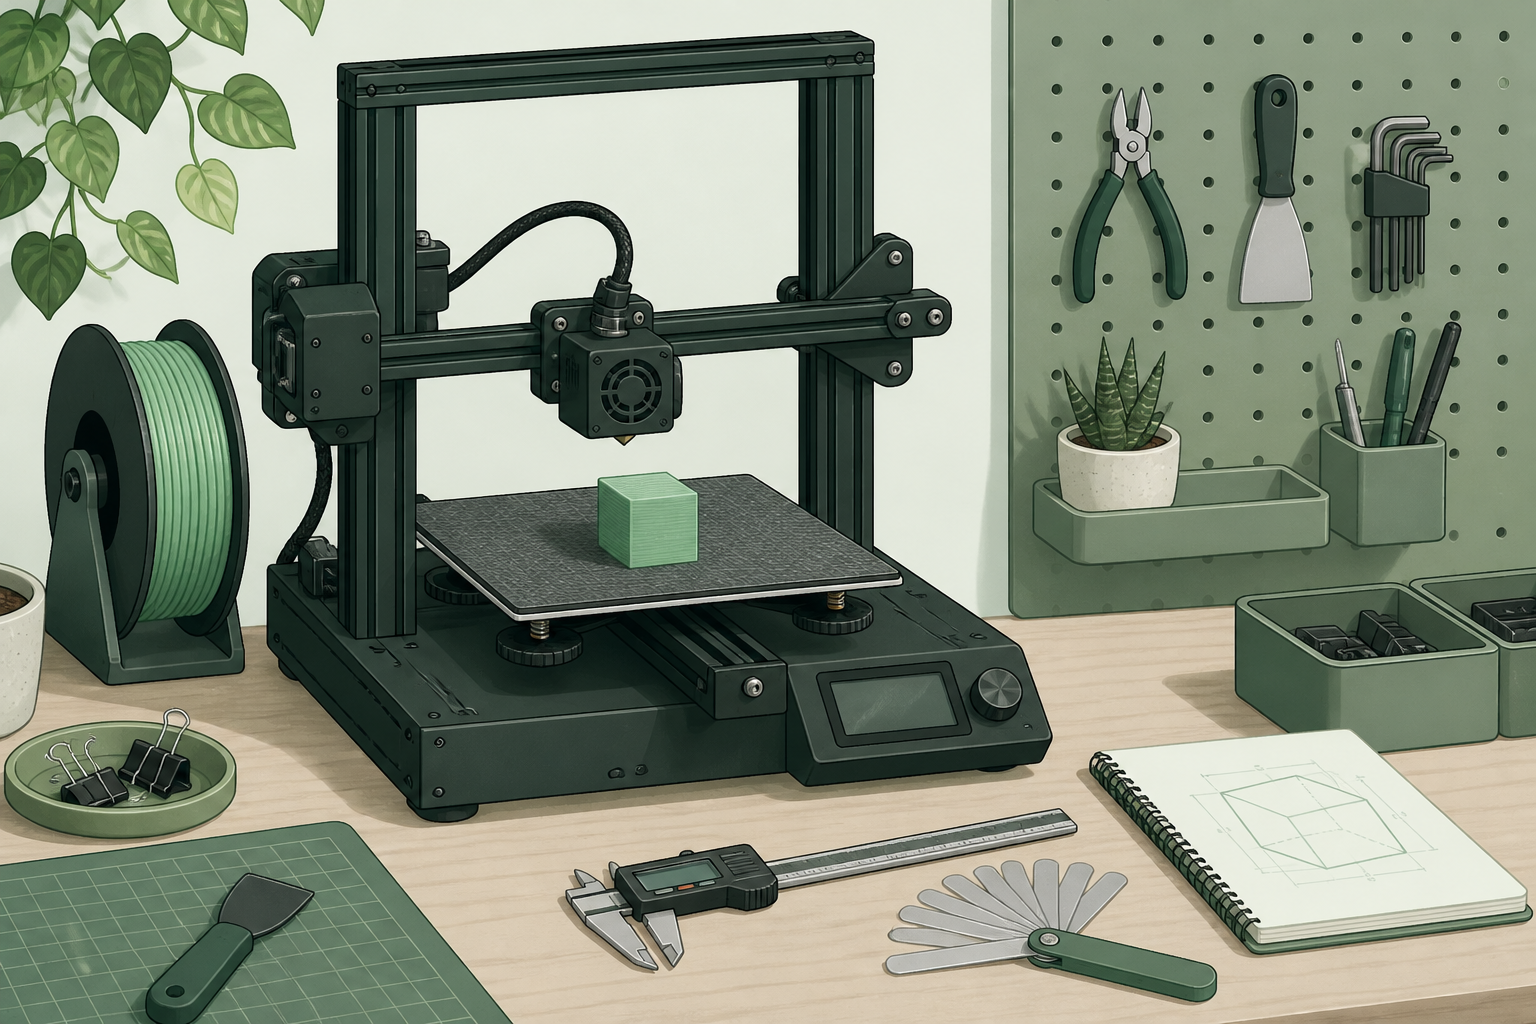
The short answer: Start 3D printer calibration with the first layer, then check temperature and flow one change at a time. Add the NEIKO 01407A Digital Caliper when you need to measure a cube or a snap-fit rather than guess.
Our picks
This reader-supported guide uses Amazon links. As an Amazon Associate we earn from qualifying purchases. Learn more.
3D printer calibration gets overwhelming when you change five settings after one bad print. Use a simple order instead. Make the bed clean and the first layer reliable. Then test temperature, flow, and dimensions only when the earlier step looks settled.
The NEIKO 01407A Digital Caliper is a live US Amazon product with a 4.4-star rating and a long history of useful owner reviews. It is not a magic calibration tool. It gives you a repeatable measurement when you are ready to check whether a printed part matches the model.
Clean the bed before touching settings
Finger oil, dust, and leftover glue can look exactly like a leveling problem. Wash a removable PEI sheet with dish soap and water, dry it, and avoid touching the print area. Follow your printer maker's advice for glass or specialty coatings.
Then run the printer's leveling routine if it has one. Auto leveling is helpful, but it does not always set the nozzle height perfectly. Watch the first layer. Lines that are round and separate need a lower nozzle. Lines that look scraped thin or rough need a little more gap.
Make one small adjustment, then print a first-layer square. Do not move on until it sticks cleanly across the plate.
Tune temperature with the filament you use
Use the filament maker's suggested temperature range as a starting point. PLA often prints around 190 to 220 C, but colors and blends differ. Print a small temperature tower or a few simple samples if you see stringing, weak layers, or a rough finish.
Change temperature in small steps. If the print looks good at 205 C, do not jump to 225 C because someone online uses it. The right setting is the one that works with your filament, printer, and room.
Wet filament can imitate a temperature issue. If you hear popping or see fuzzy strings on a spool that sat out for weeks, dry it before rebuilding your slicer profile. Our filament dryer guide explains when that is worth doing.
Check flow after the first layer looks right
Flow controls how much plastic the printer pushes compared with what the slicer expects. Too much flow makes walls bulge and holes close. Too little flow makes gaps and weak top layers. A single-wall test is more useful than changing flow based on a random cube.
Measure a clean test wall with calipers. Compare it with the wall width you asked the slicer to make. Small differences are normal. Large consistent differences are worth adjusting. Write down the setting and filament so you can return to it later.
The NEIKO 01407A Digital Caliper is a sensible add-on because it switches between millimeters and inches and has enough accuracy for printed parts. It will not replace a micrometer in a machine shop, but it is plenty for checking a 20 mm cube or a clip.
Save dimensional checks for parts that fit
If you only print figurines, a cube that measures 19.8 mm instead of 20 mm may not matter. For a lid, a gear, or a part that holds hardware, it does. Print a small test before committing to a large functional part.
Check belts and pulleys if X and Y dimensions are consistently off. Check extrusion and nozzle condition if walls vary. A worn nozzle can make every calibration attempt look mysterious. See 3D printer nozzles before assuming the slicer is at fault.
Bottom line
Good 3D printer calibration is mostly a calm order of operations. Clean the bed, set the first layer, tune temperature, then measure flow and dimensions when the project needs it. Keep a NEIKO 01407A Digital Caliper for useful measurements, and do not rebuild every setting because of one ugly print.
Frequently Asked Questions
What should I calibrate first on a 3D printer?
Start with a clean bed and Z-offset. A perfect flow setting cannot save a first layer that will not stick.
Do I need a digital caliper?
Not for your first decorative print. It becomes useful for snap fits, holes, and parts that must match a real object.
How often should I calibrate?
Recheck after changing nozzles, major firmware settings, or a new material. Do not retune everything after one small flaw.
Why is my calibration cube the wrong size?
Check belt tension, loose pulleys, extrusion settings, and slicer scale before changing random numbers.